📌 Contents
설치
- react-native-splash-screen을 설치한다.
$ yarn add react-native-splash-screen

// or

$ npm install react-native-splash-screen --save- React Native CLI 0.60+ 부터는 아래 명령으로 자동 설치한다.
$ cd ios && pod install && cd ..React Native CLI 0.60 아래 버전이라면 별도로 link 해야한다.
react-native link react-native-splash-screen
- App.js 에서 splash screen을 종료시키는 코드를 추가한다.
import React, {useEffect} from 'react';import SplashScreen from 'react-native-splash-screen';
//...

const App = () => {  useEffect(() => {    SplashScreen.hide();  }, []);
  return (
    <Provider store={store}>
      <StatusBar barStyle="dark-content" />
      <NavigationContainer />
    </Provider>
  );
};

export default App;
iOS
프로젝트 루트에서 open ios/[project_name].xcworkspace을 실행하여 Xcode를 실행한다.

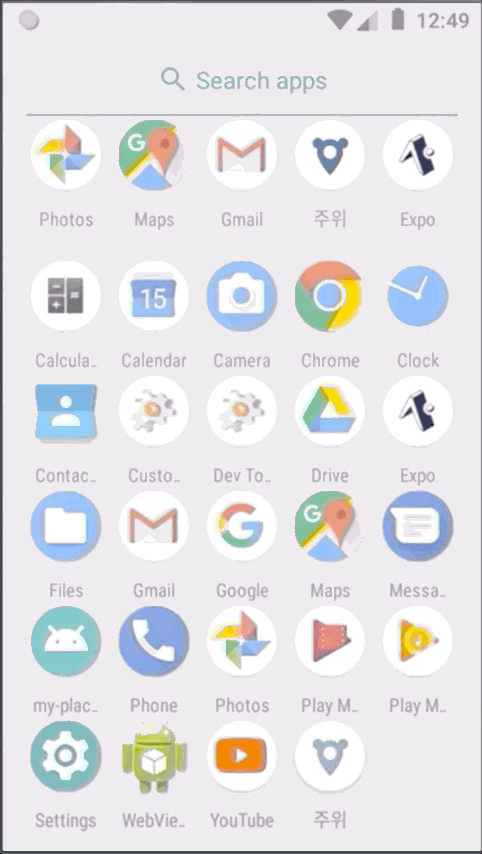
[project_name] > [project_name] > Imagex.xcassets 에서 + 를 누르고 Image Set 을 클릭하여 SplashIcon 을 입력한다.
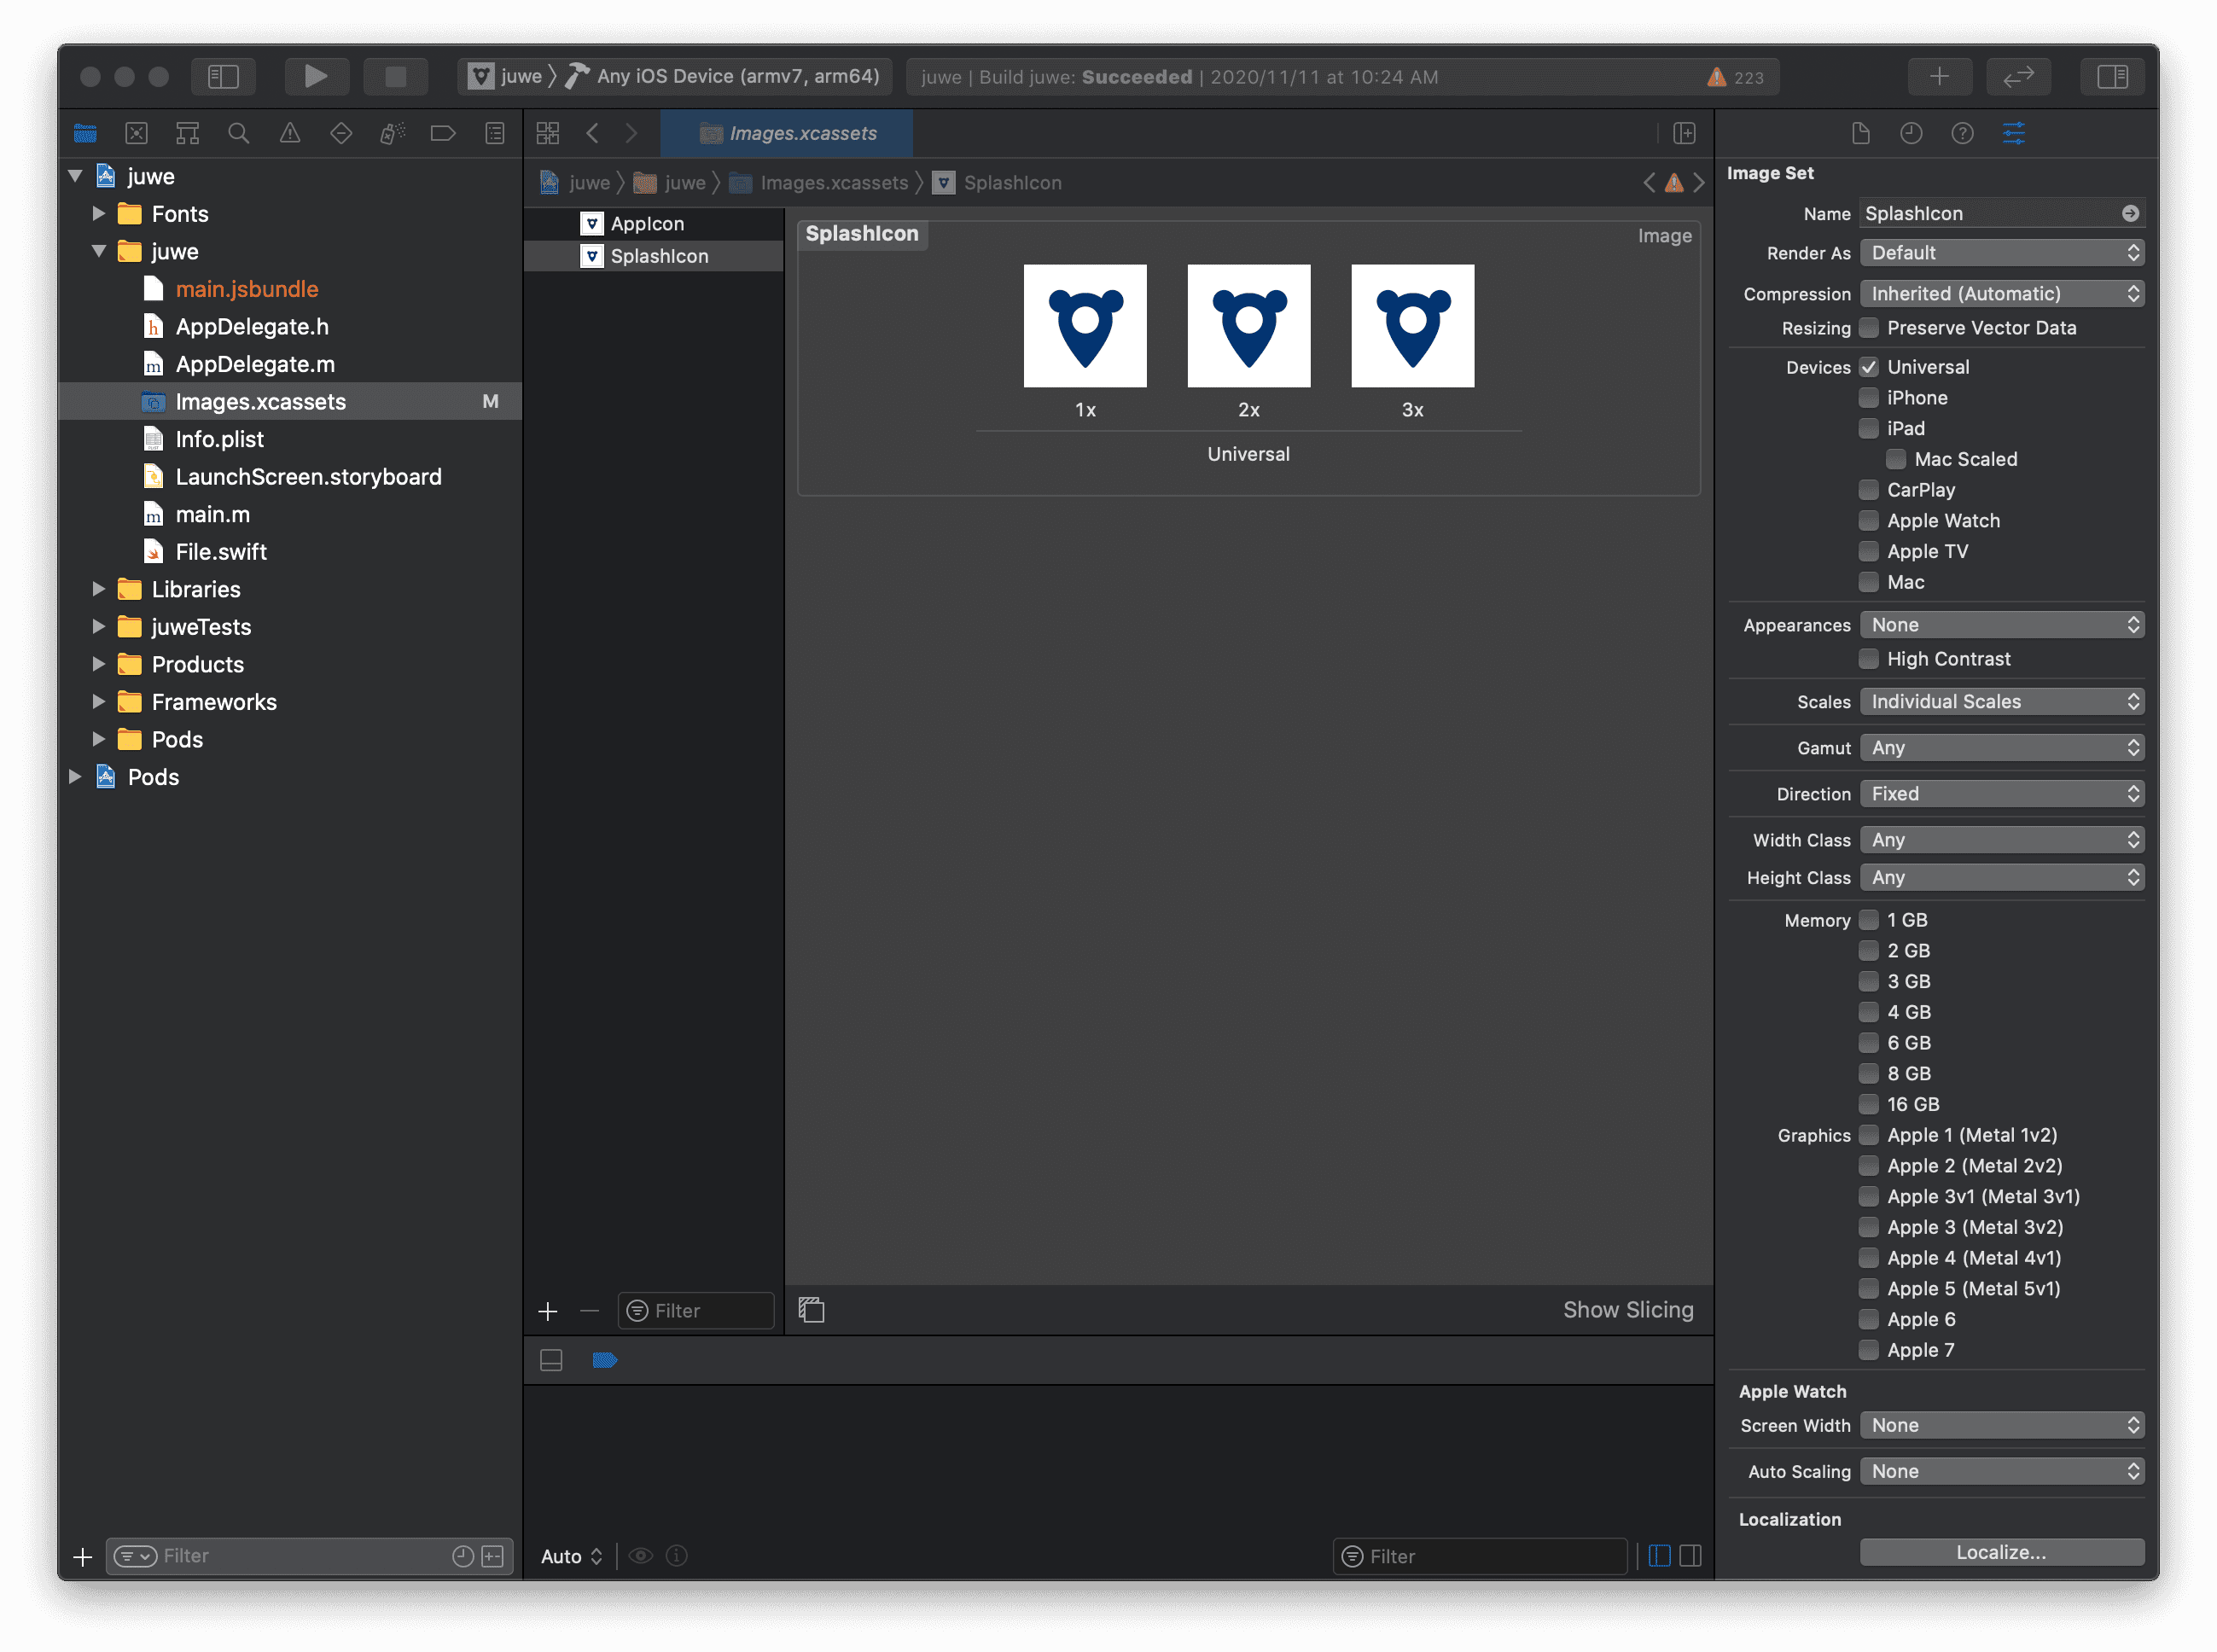
세가지 사이즈(300px, 600px @x2, 900px @x3)의 png 파일을 끌어넣을 수 있다. (예시이미지)
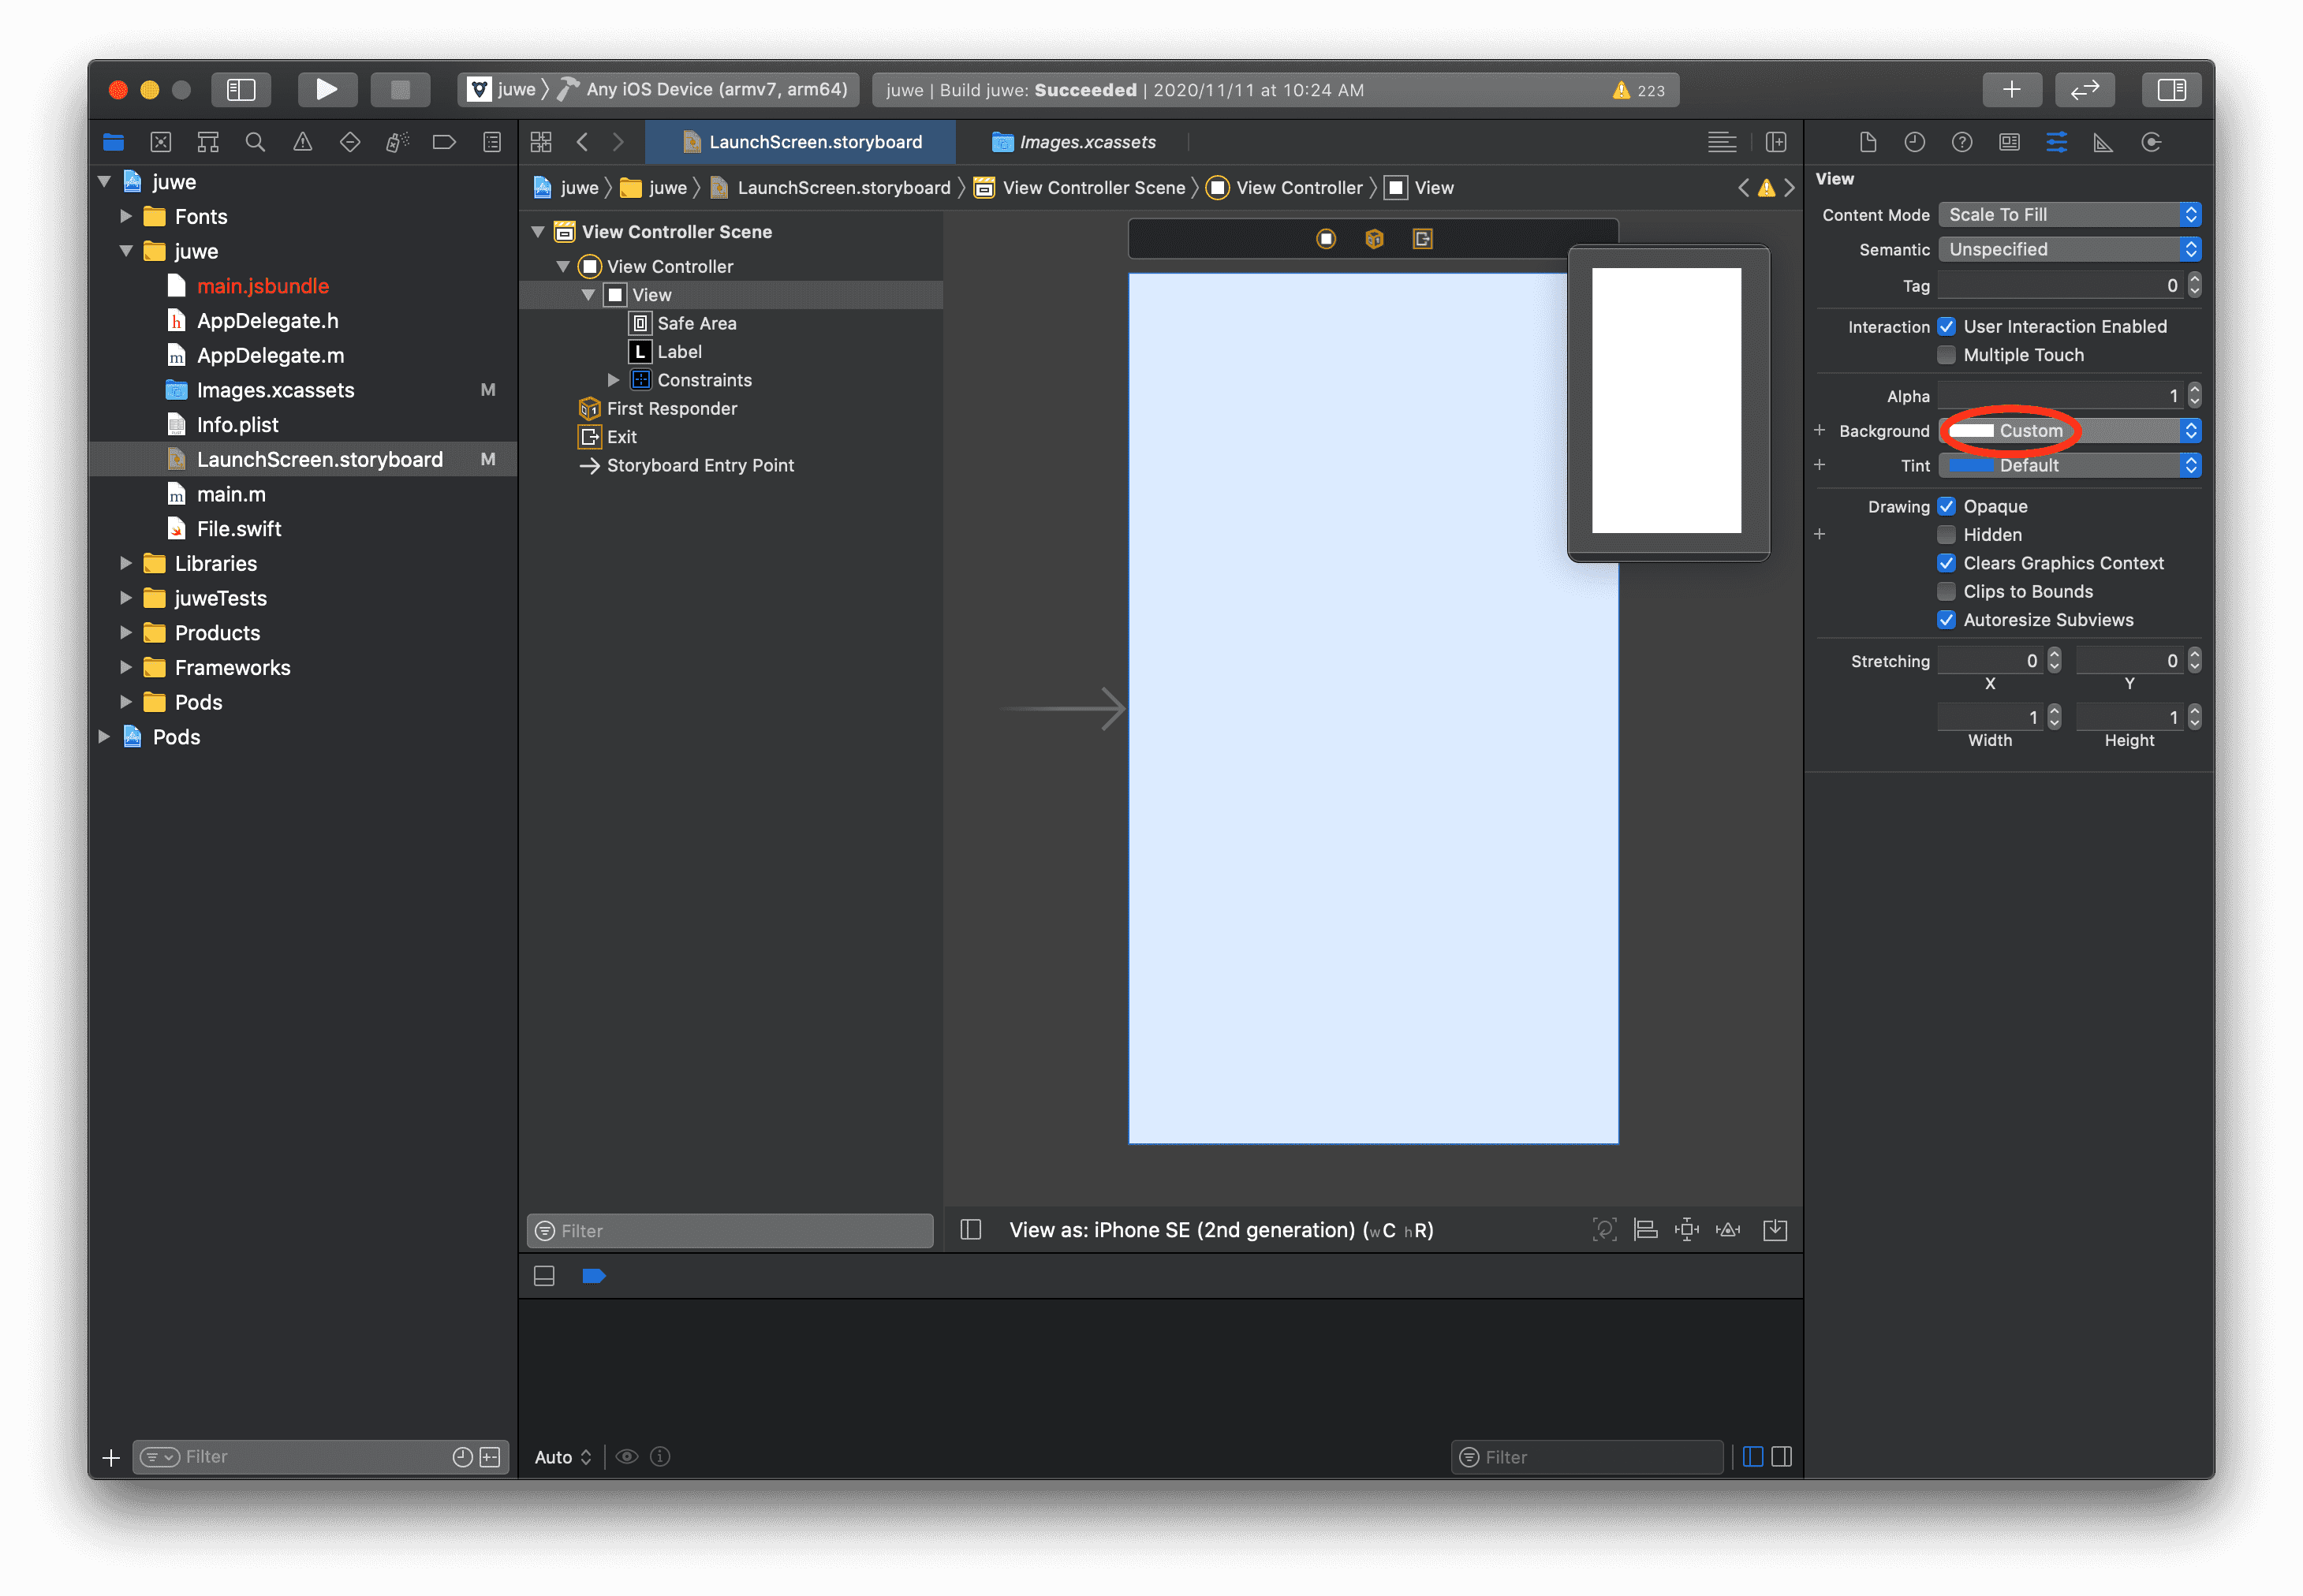
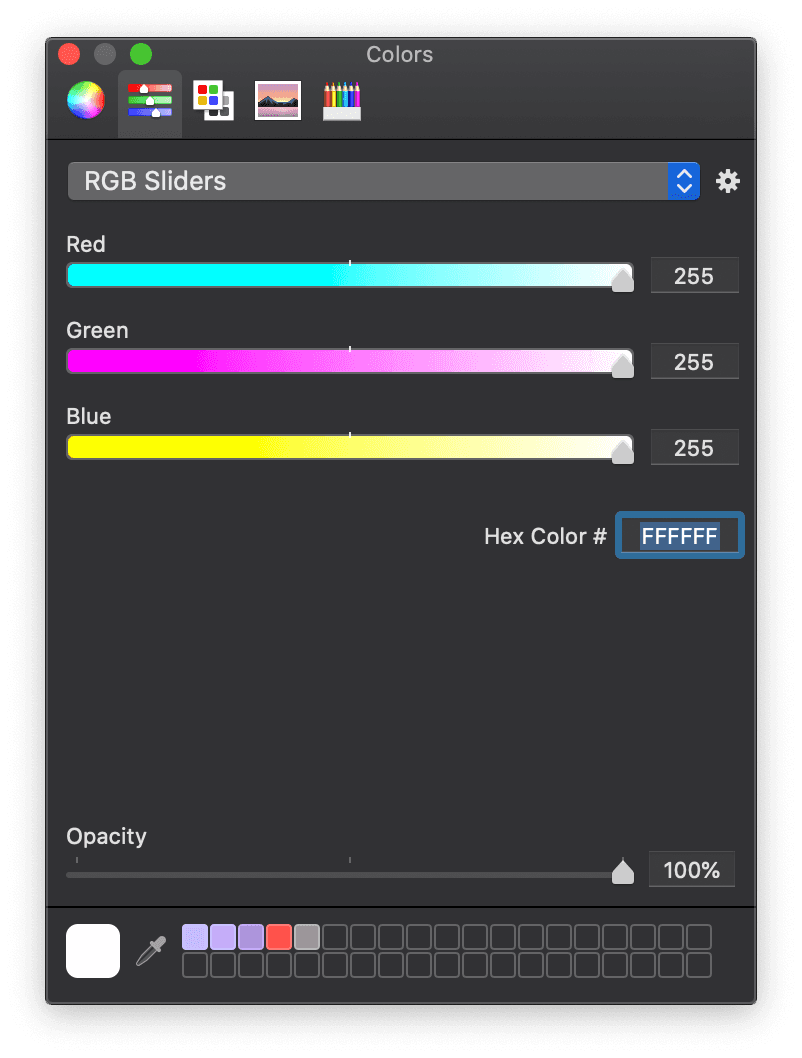
background 설정

LaunchScreen.storyBoard 에서 기본적으로 설정되어있는 프로젝트 네임과 Powered by React Native 를 지우고 Background > custom 에서 색상을 변경한다. 두번째 탭에서 코드로 변경할 수 있다.
icon 추가
상단의 + (Library) 를 클릭하고 Image를 검색하여 Image View를 추가한다.
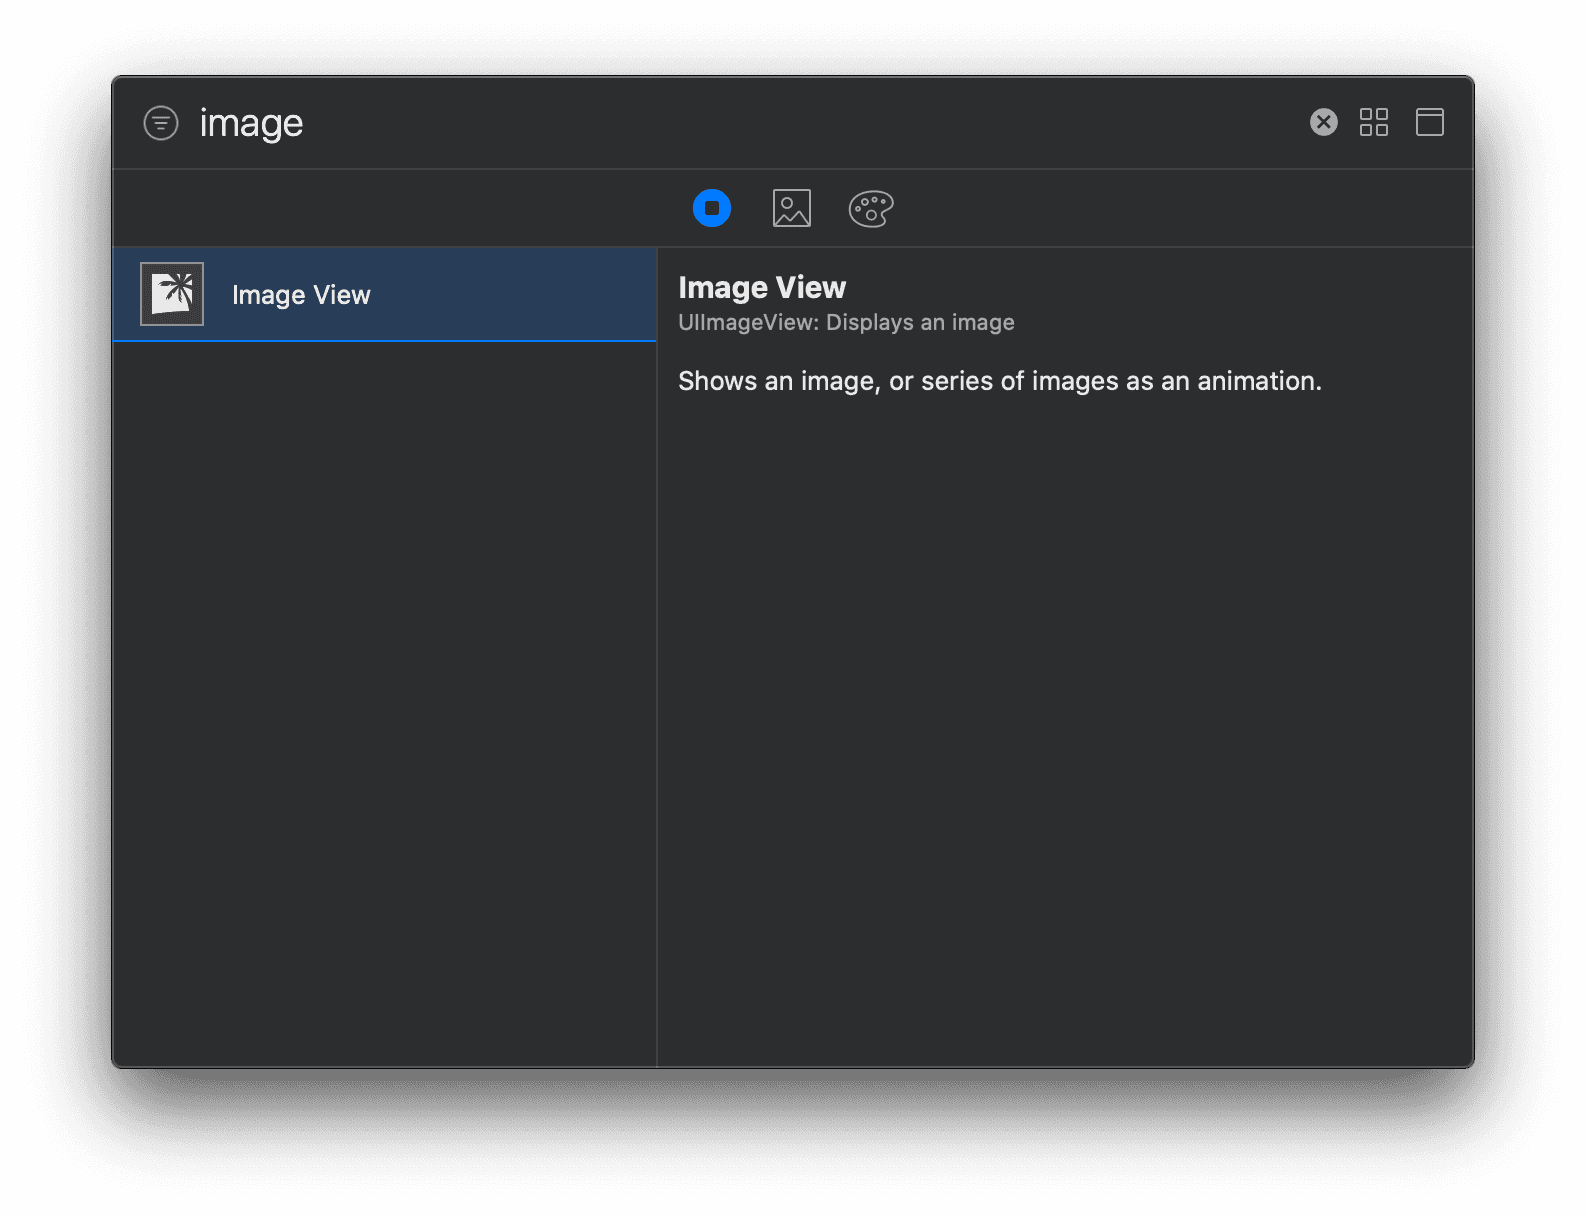
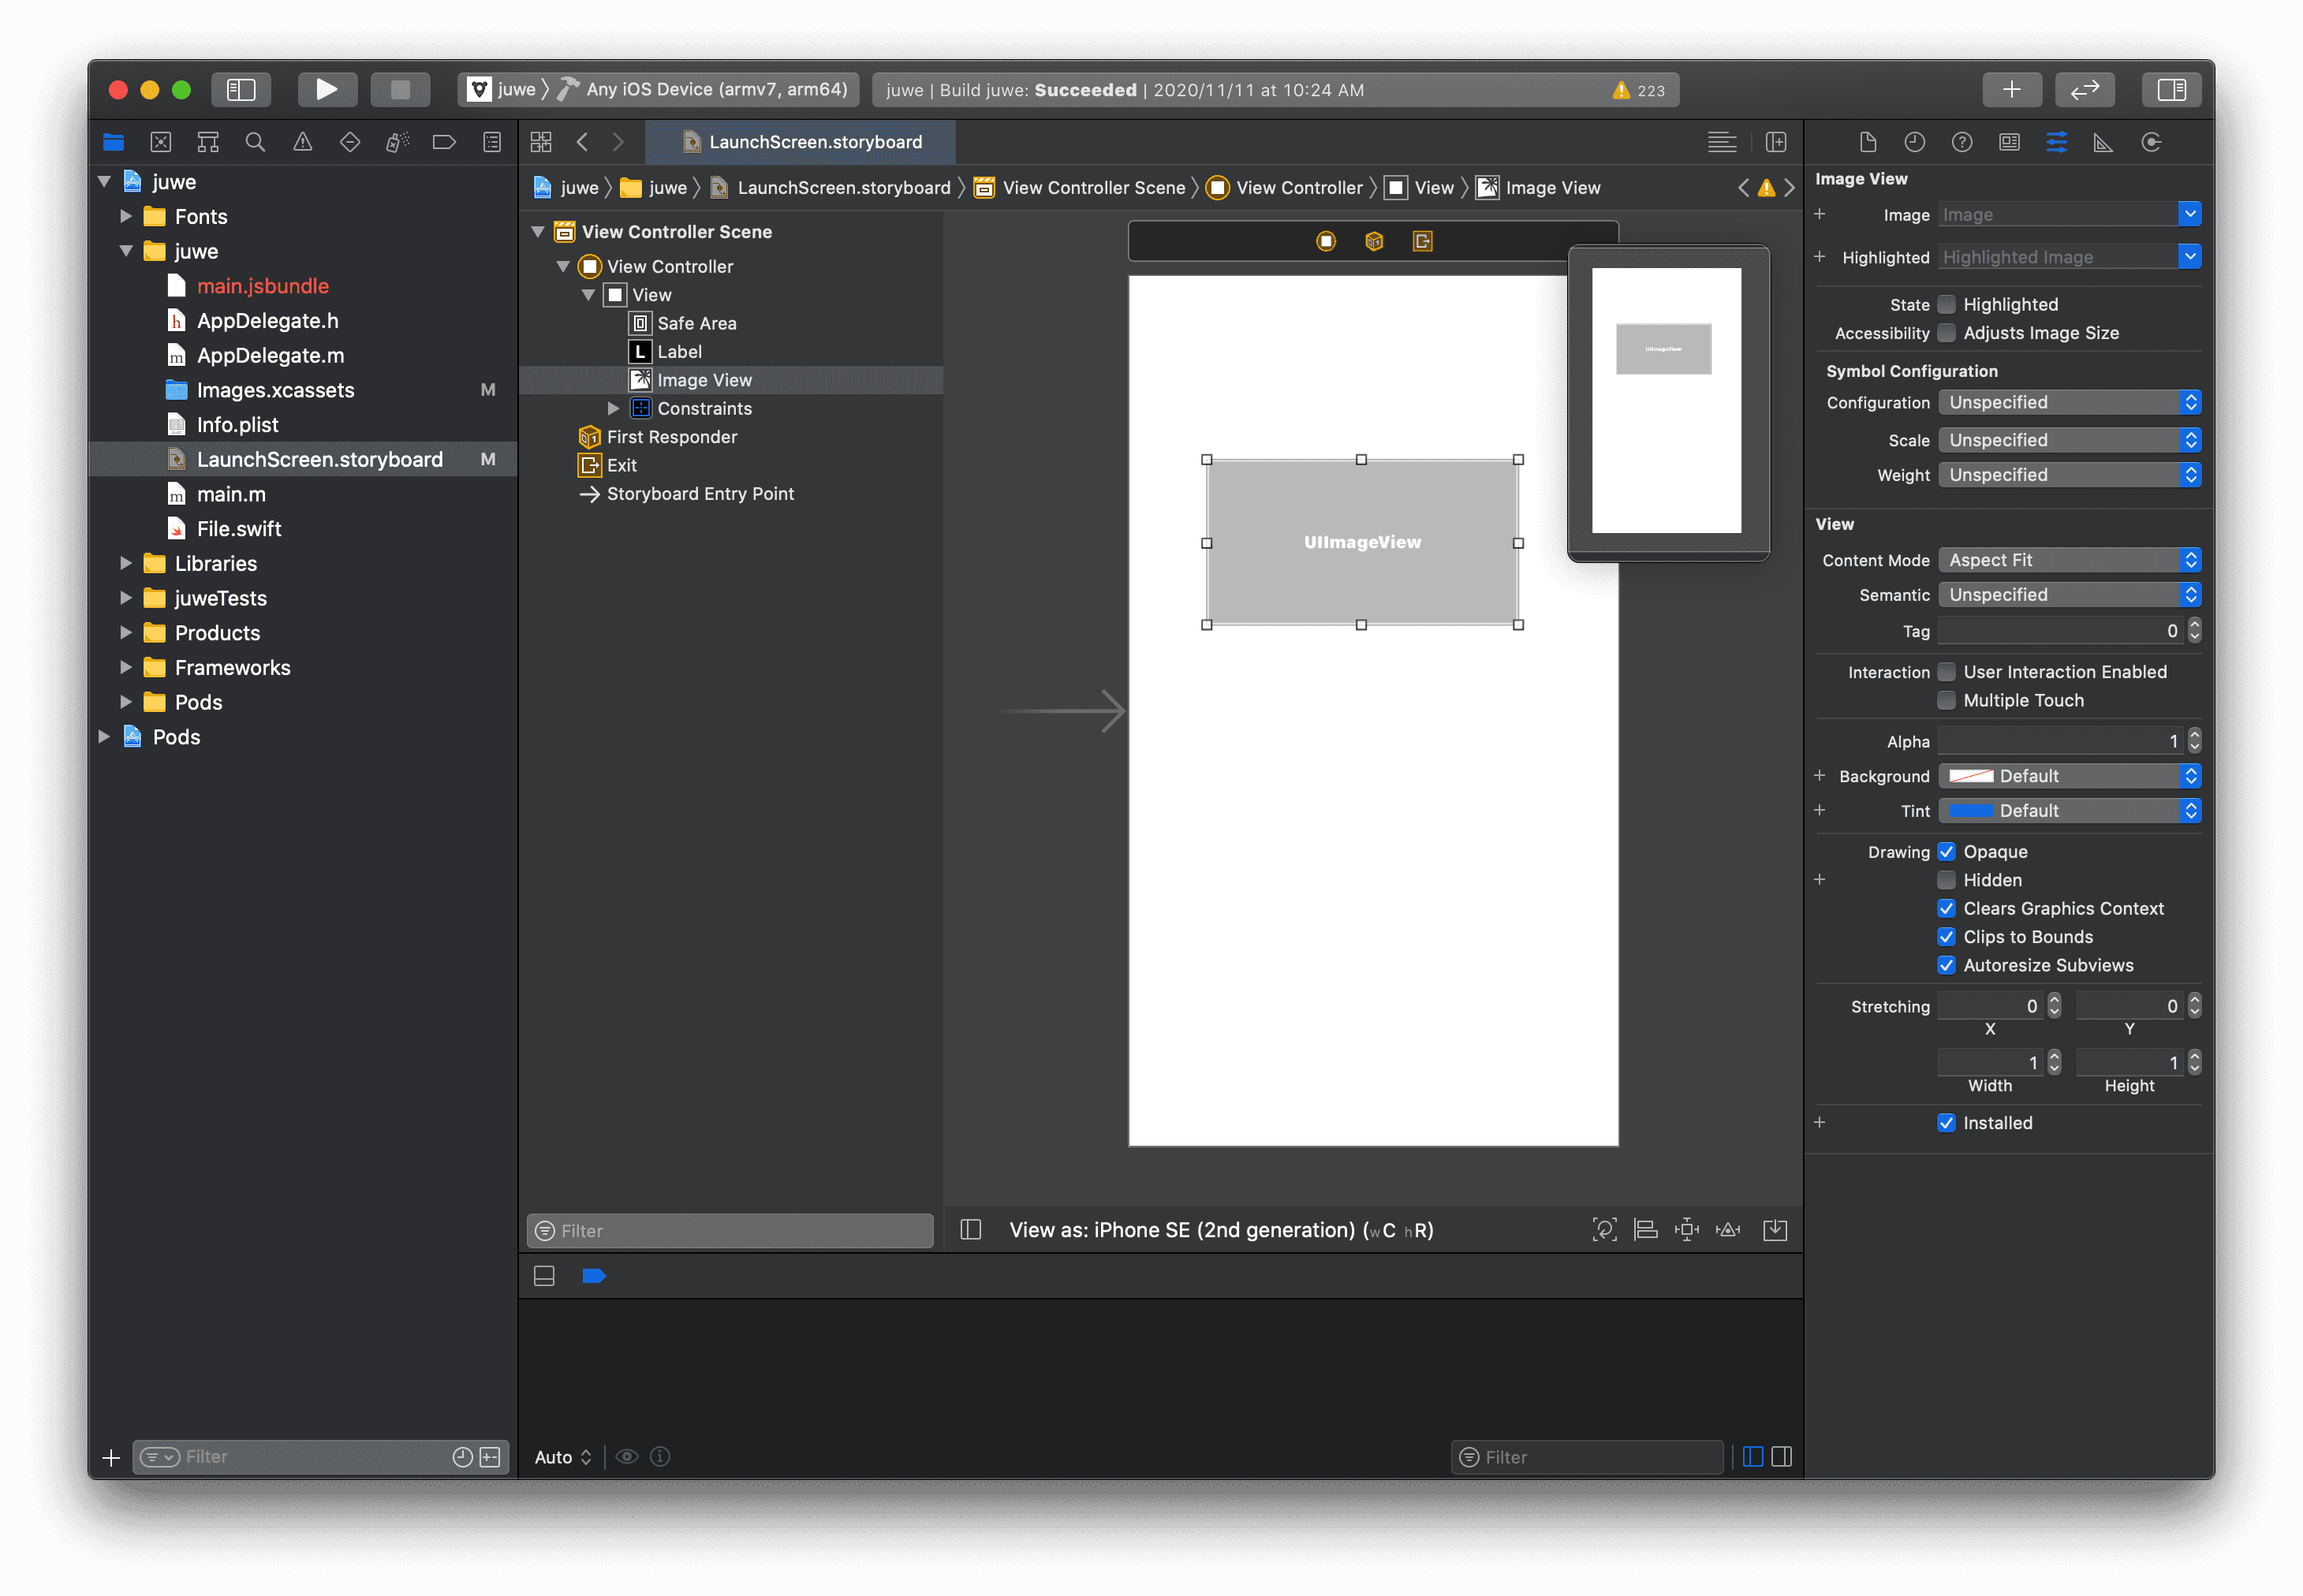
SplashIcon를 입력하여 이미지를 선택하고 Content Mode 옵션은 Aspect Fit로 설정한다.

중앙 정렬
디바이스에 상관없이 중앙 정렬하려면 Align 에서 Horizontally in container와 Vertically in container를 체크하여 추가한다.

splash-screen 설정
마지막으로 AppDelegate.m 에 splash코드를 추가하여 적용하면 된다.
- [project_name] > [project_name] > AppDelegate.m
#import "AppDelegate.h"

#import <React/RCTBridge.h>
#import <React/RCTBundleURLProvider.h>
#import <React/RCTRootView.h>
#import "RNSplashScreen.h"//...
//...
- (BOOL)application:(UIApplication *)application didFinishLaunchingWithOptions:(NSDictionary *)launchOptions
{

  RCTBridge *bridge = [[RCTBridge alloc] initWithDelegate:self launchOptions:launchOptions];
  RCTRootView *rootView = [[RCTRootView alloc] initWithBridge:bridge
                                                   moduleName:@"juwe"
                                            initialProperties:nil];

  rootView.backgroundColor = [[UIColor alloc] initWithRed:1.0f green:1.0f blue:1.0f alpha:1];

  self.window = [[UIWindow alloc] initWithFrame:[UIScreen mainScreen].bounds];
  UIViewController *rootViewController = [UIViewController new];
  rootViewController.view = rootView;
  self.window.rootViewController = rootViewController;
  [self.window makeKeyAndVisible];

  [RNSplashScreen show];  return YES;
}
//...
이제 앱이 로딩되는 동안 스플래시 이미지가 나타나는 것을 볼 수 있다.
Android
icon 추가
안드로이드에서는 android/app/src/main/res 에서 다음과 같이 디렉토리에 따라 파일을 추가한다.
- mipmap-mdpi -> splash_icon.png
- mipmap-hdpi -> splash_icon@2x.png
- mipmap-xhdpi, mipmap-xxhdpi, mipmap-xxxhdpi -> splash_icon@3x.png
추가 후, 모든 파일이름은 splash_icon.png로 수정한다.
splash-screen 생성
android/app/src/main/res 에서 drawable 폴더를 만들고 background_splash.xml 파일을 생성한다.
- android/app/src/main/res/drawable/background_splash.xml
<?xml version="1.0" encoding="utf-8"?>
<layer-list xmlns:android="http://schemas.android.com/apk/res/android">

    <item
        android:drawable="@color/splashscreen_bg"/>

    <item
        android:width="300dp"
        android:height="300dp"
        android:drawable="@mipmap/splash_icon"
        android:gravity="center" />

</layer-list>
그 다음 android/app/src/main/res/values 의 colors.xml 파일을 생성하고 컬러코드(ex: #ffffff)를 넣는다.
<?xml version="1.0" encoding="utf-8"?>
<resources>
    <color name="splashscreen_bg">#ffffff</color>
    <color name="app_bg">#ffffff</color>
</resources>
android/app/src/main/res/values/styles.xml 파일도 아래 코드로 수정한다.
<resources>

    <!-- Base application theme. -->
    <style name="AppTheme" parent="Theme.AppCompat.Light.NoActionBar">
        <!-- Customize your theme here. -->
        <item name="android:textColor">#000000</item>

        <!-- Add the following line to set the default status bar color for all the app. -->
        <item name="android:statusBarColor">@color/app_bg</item>
        <!-- Add the following line to set the default status bar text color for all the app
        to be a light color (false) or a dark color (true) -->
        <item name="android:windowLightStatusBar">false</item>
        <!-- Add the following line to set the default background color for all the app. -->
        <item name="android:windowBackground">@color/app_bg</item>
    </style>

    <!-- Adds the splash screen definition -->
    <style name="SplashTheme" parent="Theme.AppCompat.Light.NoActionBar">
        <item name="android:statusBarColor">@color/splashscreen_bg</item>
        <item name="android:background">@drawable/background_splash</item>
    </style>

</resources>
splash-screen 설정
android/app/src/main/AndroidManifest.xml 파일을 수정한다. intent-filter태그를 삭제하고 SplashActivity태그추가, MainActivity의 android:exported="true"속성을 추가한다.
<!-- ... -->
    <application
      android:name=".MainApplication"
      android:label="@string/app_name"
      android:icon="@mipmap/ic_launcher"
      android:roundIcon="@mipmap/ic_launcher_round"
      android:allowBackup="false"
      android:theme="@style/AppTheme">

        <activity          android:name=".SplashActivity"          android:theme="@style/SplashTheme"          android:label="@string/app_name">          <intent-filter>              <action android:name="android.intent.action.MAIN" />              <category android:name="android.intent.category.LAUNCHER" />          </intent-filter>        </activity>
    <!-- ... -->

      <activity
        android:name=".MainActivity"
        android:label="@string/app_name"
        android:configChanges="keyboard|keyboardHidden|orientation|screenSize|uiMode"
        android:launchMode="singleTask"
        android:windowSoftInputMode="adjustResize"
        android:exported="true">
         <!-- 삭제 -->
         <!-- <intent-filter>
             <action android:name="android.intent.action.MAIN" />
             <category android:name="android.intent.category.LAUNCHER" />
         </intent-filter> -->


      </activity>
      <activity android:name="com.facebook.react.devsupport.DevSettingsActivity" />
    </application>

</manifest>- android/app/src/main/java/com/[package_name]/SplashActivity.java 파일을 생성하고 아래 코드를 넣는다.
package com.[package_name]; // 패키지 이름 수정

import android.content.Intent;
import android.os.Bundle;
import androidx.appcompat.app.AppCompatActivity;

public class SplashActivity extends AppCompatActivity {
    @Override
    protected void onCreate(Bundle savedInstanceState) {
        super.onCreate(savedInstanceState);

        Intent intent = new Intent(this, MainActivity.class);
        startActivity(intent);
        finish();
    }
}
splash-screen 적용
이제 splash screen을 제대로 적용하려면 android/app/src/main/java/com/[package_name]/MainActivity.java 에서 다음 코드들을 추가한다.
package com.[package_name];  // 패키지 이름 수정

import com.facebook.react.ReactActivity;
import org.devio.rn.splashscreen.SplashScreen;import android.os.Bundle;
public class MainActivity extends ReactActivity {

  @Override    protected void onCreate(Bundle savedInstanceState) {        SplashScreen.show(this);        super.onCreate(savedInstanceState);    }
    //  Returns the name of the main component registered from JavaScript. This is used to schedule
    //  rendering of the component.

  @Override
  protected String getMainComponentName() {
    return "juwe";
  }
}
그리고 android/app/src/main/res 위치에 layout 폴더를 만들고 launch_screen.xml파일을 추가한다.
- android/app/src/main/res/layout/launch_screen.xml
<?xml version="1.0" encoding="utf-8"?>
<LinearLayout xmlns:android="http://schemas.android.com/apk/res/android"
    android:layout_width="match_parent"
    android:layout_height="match_parent"
    android:background="@drawable/background_splash"
    android:orientation="vertical">
</LinearLayout>
이제 안드로이드에서도 splash screen이 적용된 것을 확인할 수 있다.